
When does heavy typography work best for kids and casual brands?
Heavy display fonts thrive when the goal is instant visual recognition. Children’s products, summer camp flyers, and toy labels need lettering that catches the eye from a distance while keeping a lighthearted tone. The rounded terminals soften the thick weight, making it readable even at smaller sizes. For print-on-demand sellers, this means shirts, mugs, and stickers will hold their shape without blurring when scaled down. Playful typography replaces stiff headers while keeping the message clear for family-oriented audiences.
How do you keep bold lettering readable?
Legibility drops when thick strokes collide or spacing becomes too tight. Increase tracking slightly to give the letters room to breathe. Wider line spacing helps the eye move smoothly, especially on YouTube thumbnails or party banners. Adding a crisp white border or sticker-style offset lifts the text away from busy backgrounds. This technique works well for digital planner stickers or product mockups where contrast is limited. Always test your chosen color combinations early to maintain clear edges when printing on physical materials.
What other display fonts can complement this style?
If you want to compare different display options, explore elegant script pairings or check out Selina & Daniel Duo Font for historical contrast. Nostalgic layouts often benefit from reviewing classic ornamental styles, while you can also examine Old Vintage Victorian III Font directly. For energetic all-caps badges, geometric sans options work well, or you can preview Awesome Everybody Font in context. Outdoor themes pair nicely with block letter alternatives, and you might also test Cowboy Block Font for rugged layouts. Secondary text layers often look best alongside vintage handwriting fonts, though comparing them with Picky Retro Font gives a clearer idea of their curve details.
How should you style the text for modern digital layouts?
Modern design trends favor clean shapes and deliberate spacing. Stick to one strong visual hook instead of layering multiple effects. A single offset border often looks cleaner than heavy gradients. Place simple geometric shapes or hand-drawn sparkles near the baseline to keep foreground text sharp. Avoid placing heavy shadows behind rounded corners, as they can blur into dark backgrounds on mobile screens. Candy-inspired palettes or high-contrast primary tones work depending on your audience. Preview your composition on a phone before exporting to catch spacing issues early.
What steps should creators take before launching a new design?
Before finalizing files for print or web, run through a quick quality check. Verify your software renders curves smoothly and embed the font in your working file. Export at 300 DPI for physical goods and PNG-24 for transparent web graphics. Crop tightly to remove unused canvas space, which speeds up loading times. If letters touch at small sizes, increase tracking or adjust line height. Keeping files organized by project type saves hours during shop updates or client revisions.
Quick Checklist for Your Next Project
- Test spacing early: Add 2% to 5% tracking to prevent thick strokes from merging.
- Use offsets strategically: Apply a thin white or dark stroke only when placing text on busy photos.
- Check contrast: Ensure your background color provides at least a 4.5:1 ratio for readability.
- Export correctly: Save print files as PDF or TIFF and web assets as optimized PNG.
- Preview on multiple screens: Always review your layout on a phone, tablet, and desktop before publishing.
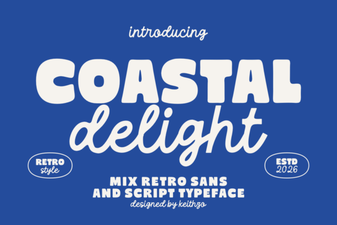 Coastal Delight Font: Design Tips & Download Guide
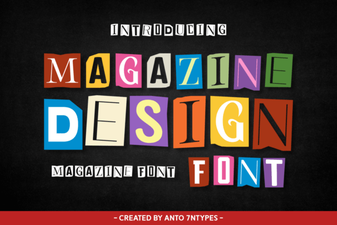 Creative Font Choices for Modern Magazine Design
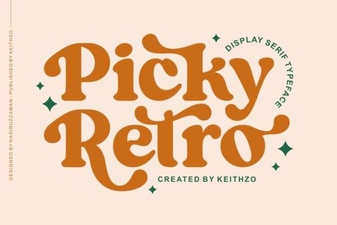 Creative Uses for Picky Retro Fonts
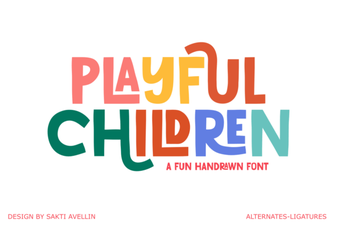 Playful Fonts for Creative Children's Projects
 Innovative Design Projects Using Varsity Narrow Font
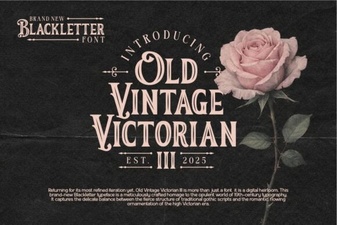 Classic Victorian Font Design Ideas & Uses