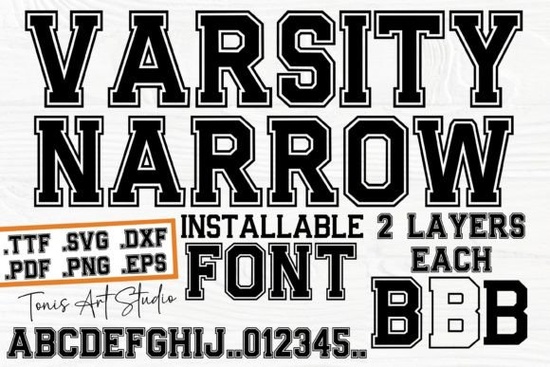
If you have spent time working on athletic logos or school spirit merchandise, you know that finding a clean, sharp outline typeface can be surprisingly difficult. The Varsity Narrow Font solves that problem by offering the classic college look without taking up too much horizontal space. Designers and small shop owners often choose this style because the condensed shape fits perfectly on t-shirts, mugs, and even small tags. You get that traditional stadium feel while keeping your layout tidy and readable.
What makes varsity typography work for different crafts?
The main reason crafters and print-on-demand sellers lean toward this specific letterform is its balanced proportions. Unlike wider display faces that crowd a layout, the narrow cut leaves plenty of room for secondary graphics or sponsor names. The sharp outlines create a natural shadow effect when layered over a solid background. This means you can print single colors on fabric or vinyl without losing that vintage athletic vibe. Many hobbyists also appreciate how the letters hold up at smaller scales, making them reliable for stickers, patch mockups, and custom keychains.
When you work with collegiate text, pairing matters just as much as the primary headline. You might combine it with a soft script for casual event shirts, or match it with a clean sans serif for local business flyers. If you need a more relaxed companion, you could explore styles like this coastal-inspired typeface for summer merchandise, or check out western display options when your projects require a rugged, outdoorsy tone.
Where can you actually use narrow athletic lettering?
Most creators start with team uniforms or alumni gear, but the practical applications extend far beyond sports merchandise. The condensed structure works smoothly on curved surfaces like baseball caps, travel mugs, and ceramic tiles. Since the outline framework prints cleanly in a single pass, it reduces production time for small batch runs. Common uses include:
- Custom apparel: Player numbers and graduation dates align neatly without wrapping around seams.
- Home decor: Wood signs and framed family names gain instant structure from the sharp edges.
- Event materials: Tournament schedules and invitation headers stay legible even when scaled up for large banners.
If your shop focuses on retro themes or handmade goods, balancing the sharp blocks with a softer companion font improves readability. For example, a friendly handwritten style adds warmth to stiff headlines. You can also mix it with a nostalgic serif companion for scrapbook layouts, or test a playful option like this bold casual face when your design needs a louder, statement-making layer.
How do you set up the file for clean results?
Preparing your artwork correctly prevents wasted materials and frustrated customers. Always check letter spacing before exporting. Condensed characters sometimes sit too close together when left at default settings, so adjust the tracking slightly to let the background breathe through the outline. If you are cutting heat transfer vinyl or operating a laser engraver, trace the outer path rather than the filled inner area to avoid rough corners on small details like apostrophes or curved tails.
For digital previews or web listings, keep your canvas size realistic. A 300 DPI export handles physical printing, while 72 DPI keeps your online storefront fast. You can also experiment with subtle offset backgrounds or thin inner strokes to add depth without breaking standard usage rules. If you want to compare real project examples and download options, searching for Varsity Narrow Font will show you how other creators apply this typeface.
Quick steps for a polished final product
- Set your document to CMYK for offset printing or stick with RGB for digital delivery.
- Convert text to paths before sending artwork to any printer or cutting machine.
- Run a small test print on your exact material to verify line weight and spacing.
- Leave a quiet margin around the design so nothing gets trimmed during packaging or framing.
Before you publish your listing or send a batch to print, measure the actual garment or blank product and compare it to your canvas size. Keep an editable version with separate layers so you can swap colors quickly without rebuilding the layout. Test the output on your primary material first, confirm that the outline spacing looks sharp under normal lighting, and then replicate the template across your other products. This simple routine saves hours of revision work and helps your shop maintain consistent quality over time.
Explore Design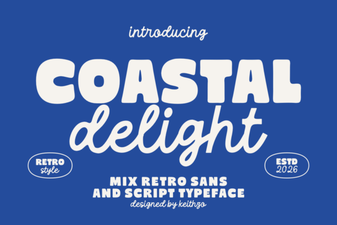 Coastal Delight Font: Design Tips & Download Guide
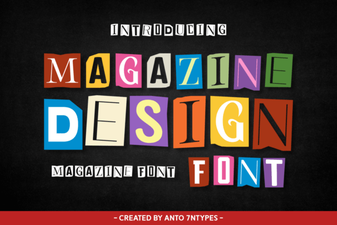 Creative Font Choices for Modern Magazine Design
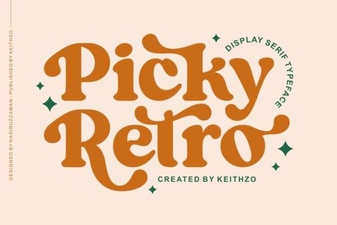 Creative Uses for Picky Retro Fonts
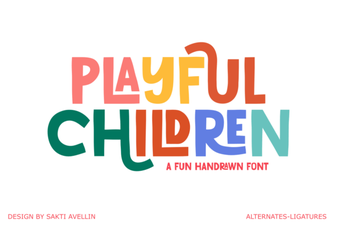 Playful Fonts for Creative Children's Projects
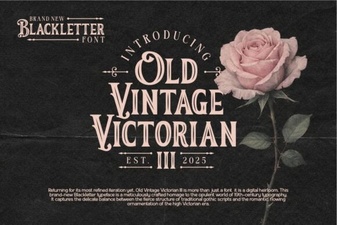 Classic Victorian Font Design Ideas & Uses
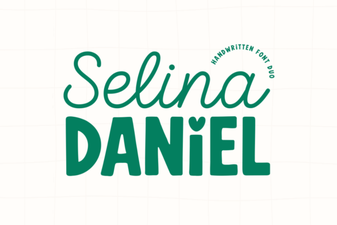 Selina Daniel Duo: a Creative Font Pairing