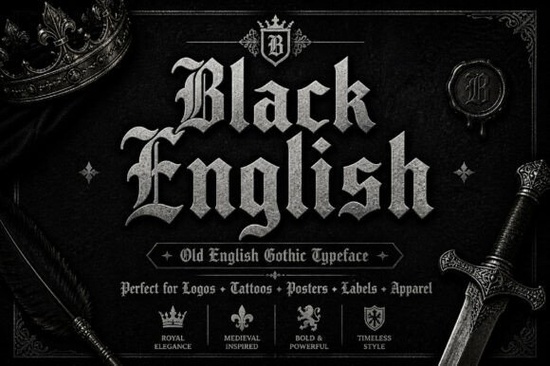
When you need a typeface that instantly sets a bold, vintage mood, Black English Font delivers exactly that. It blends traditional blackletter shapes with sharp, calligraphy-inspired strokes, making it a reliable choice for anyone looking to add historical character to digital or printed work. Rather than feeling stiff or outdated, this style carries a modern readability that fits well across both screen and physical products.
What projects work best with this type of heavy Gothic lettering?
Creators often reach for dramatic serif and blackletter styles when they want a design to feel established, rugged, or historically rooted. If you run a print-on-demand shop, this lettering works well on t-shirt graphics, hoodie prints, and vintage-style posters. Crafters also use it for layered vinyl decals, tattoo flash sheets, and album artwork where the text needs to act as the main visual focus. Small business owners might apply it to packaging labels, craft beer cans, or specialty bakery boxes that benefit from an old-world aesthetic. The sharp edges and dense strokes create a strong visual anchor, so you usually only need a single line or a short phrase to make the layout pop.
How should you space and size the letters for maximum impact?
Because the letters sit tightly together with overlapping details, proper tracking and line height matter more than you might expect. Start by leaving extra breathing room between individual words, and avoid setting long paragraphs in this style. It performs best as a display typeface, meaning headlines, single-word logos, or short taglines. If you are preparing files for a cutting machine, scale up the design slightly to keep the thin decorative strokes intact during the weeding process.
- Keep lines to three or four words for clean visual flow
- Increase letter spacing just enough to separate overlapping serifs
- Test print a small proof before running bulk production
- Use high-contrast backgrounds so the dark strokes stand out
If you want to explore more layout ideas for gothic typography, you can browse similar projects in our blackletter font collection.
How do you pair this style with simpler typefaces?
Mixing a heavy blackletter with a clean, modern sans serif or a lightweight serif creates balance without overwhelming the viewer. Place the simpler font on subheadings, body text, or product details while keeping the dramatic style reserved for the main title. For apparel mockups, try stacking the two fonts in a centered layout, using thin dividers or subtle geometric shapes to separate the hierarchy. The goal is to let each typeface handle what it does best: one grabs attention, and the other delivers the information clearly.
What file types and technical specs should you check before purchasing?
Digital designers usually prefer OTF or TTF formats for desktop use in programs like Adobe Illustrator, Photoshop, or Affinity Designer. Crafters working with electronic cutters will often need SVG or high-resolution PNG versions. Before finalizing a design for a client, confirm the licensing terms, especially if the artwork will be printed on physical goods for resale. Always keep the original vector file archived so you can adjust scaling or swap colors without losing edge quality.
For reference, you can compare how this style stacks up against other historical designs like Old English Gothic to see which stroke weight matches your project needs.
How do you avoid common readability mistakes with dark lettering?
The biggest issue with heavy blackletter type happens when designers push it into low-light or busy backgrounds. Always test your color palette under different lighting conditions. If you are printing on dark fabric, use a light drop shadow, a thin outline, or a solid backing shape to preserve the negative space inside the letters. On web banners, increase the font size by about 10 to 15 percent compared to what you use on paper, since screen rendering can soften sharp edges. A quick grayscale check before publishing will show you whether the contrast holds up.
Quick setup checklist before you export
- Convert text to outlines before sending files to a printer or client
- Embed all linked assets to prevent missing glyph errors
- Export at 300 DPI for any physical merchandise
- Save a web-ready version at 72 DPI with optimized compression
- Double-check licensing for commercial print runs or digital resale
Start by testing a single word or short phrase in your layout software, adjust the tracking until the shapes breathe, and print a quick draft on your usual material. Once the spacing feels balanced, scale it across your product line and keep your typography consistent for a cleaner brand look.
Try It Free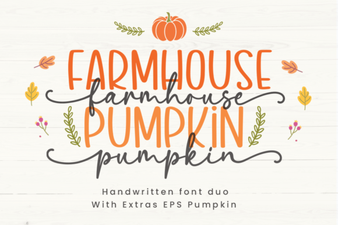 Farmhouse Pumpkin Font Ideas for Your Projects
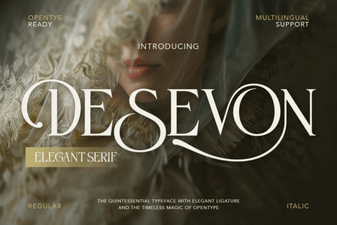 Desevon: a Bold Font for Creative Projects
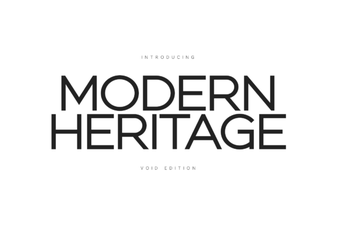 Modern Heritage Fonts for Creative Design Projects
 Saturday Fonts for Creative Design Projects
 Trt Burn Font: Creative Design Ideas and Uses
 Brisca Font for Creative Design Projects